
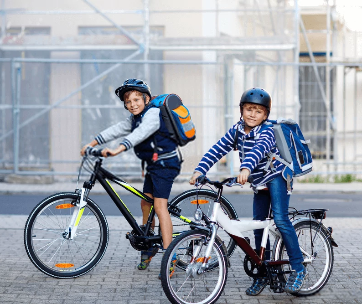
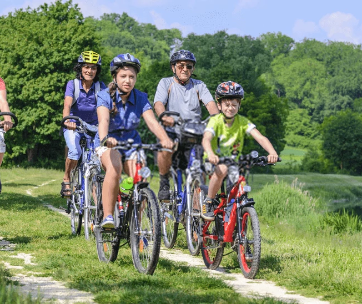
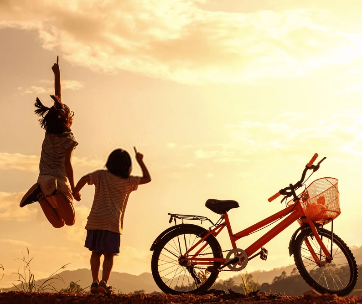
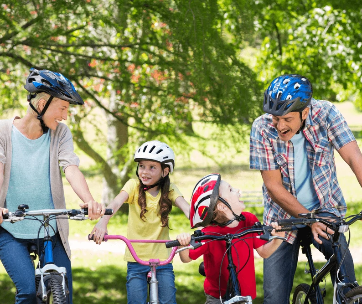
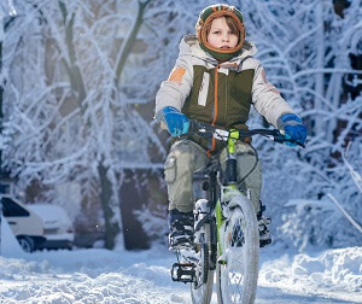
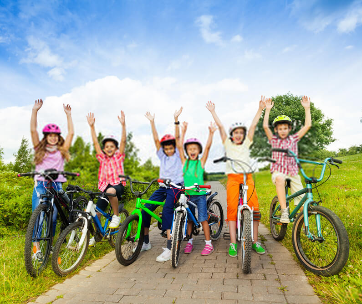
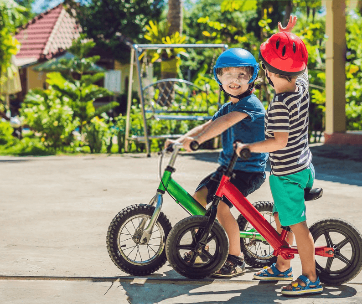
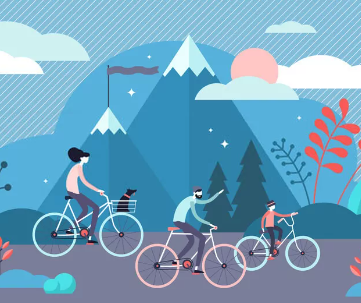
If you’ve been around the cycling world then you know that travelling with kids and bikes is a combination that usually has one of two responses. For most cycling parents/ guardians, it’s either extreme excitement or just complete shying away from the activity altogether when one thinks of the planning that has to go into it.
Now, if you belong to the latter group then at some point you have probably questioned whether you are truly ready for the high level of coordination needed to pull off such a trip and if it will be worth it in the end. Perhaps, you have even wondered about where to start and whom to contact in order to get your planning in check.
The good news is that those are the right questions to ask. The better news is that you are definitely in the right place. We can make your family cycling plan easy so you don’t have to stress about it.
We’re going to work our way up from the conceptualization of the plan to travel all the way to its actualization. Whether, you plan to take a cycling trip that will require using a plane, ship or train to get to your destination, you are going to be fully equipped at the end of this article.
Without wasting time and words, here are the top tips and steps that you can rely on for a successful cycling trip with kids and bikes.
Travelling With Kids and Family Bikes on A Plane
Bringing kids’ and adult bikes on a flight can be the most challenging thing, especially if you are doing it for the first time. It can be an overwhelming experience, filled with a lot of questions and research. Luckily, we have researched, assessed our personal experiences, and listened to what travelling parents have to say about bringing along with them their bikes when on a family bike tour that entails first flying out to a destination. Here are some tips to get you started.
1. Pack Well
The key to a successful family cycling trip starts right before you even leave the house. So, one thing’s for sure; packing has to be done meticulously. That said, here are a few things to keep in mind as you pack:
Pack light
You need to pack light because everything that you leave the house with needs to be carried by you and your family members or attached to the bike. This is because, unlike a car where you have the convenience to carry excess supplies and even enjoy convenient storage, you only so much space on a plane.
For the most part, a bike will be your means of transportation from one transportation point to another during your trip.
That means that you will have to forego unnecessary stuff and only arm yourself with basic things that you need for everyday survival. Of course, this will depend on the length of your trip. For instance, if you can buy some things along the way then you best leave them at home.
Prepare a list of necessities
While every family has its own needs, we have a list of necessities that we think every cycling trip should entail. This includes the following:
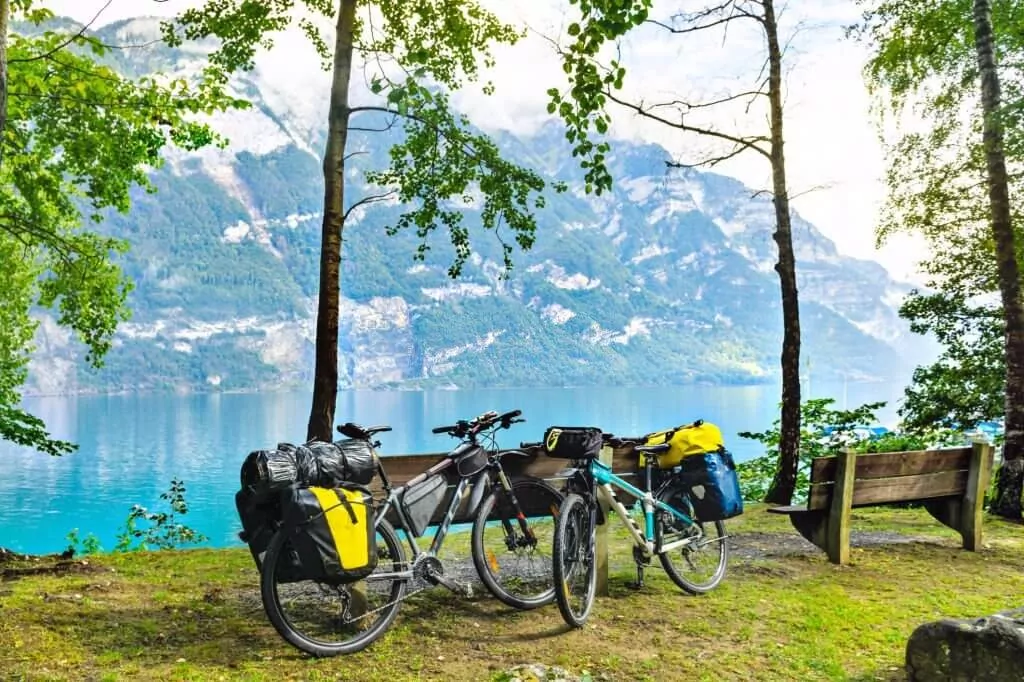
Bike bags
The surest way to safely pack your bikes is to store them in bike bags.
You will need to check in with your airline in advance in order to determine what their policy on bike bags is. Some airlines permit two bikes in one bike bag (usually an adult and child bike) while others strictly require one bike per bike bag.
All in all, the fewer the bike bags, the easier the handling. But the more the bikes in a bike bag, the higher the risk of damage.
If you are grouping two bikes into one bag, be sure that the airline is aware of that.
Cardboard bike boxes
As an alternative for the bike bags, you can also use disposable cardboard boxes. These can be sourced from local bike shops and then wrapped up using tape.
The disadvantage to this process is that while it may be easy to source the bike boxes from your neighborhood, the same might not be applicable during your return journey.
However, if this is the only game plan you have then be sure to leave a reasonable amount of time to source for all your requirements before you begin your journey. Additionally, be careful not to seal off the boxes before they are scanned for security purposes.
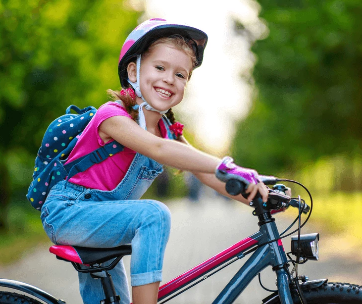
- Helmets
- Bike trailer
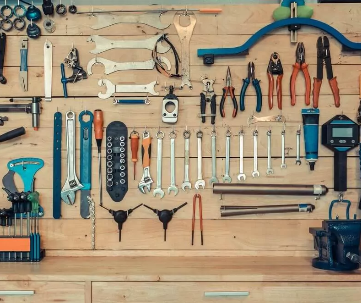
- Bike maintenance kits
- Panniers
- Clothing
- Kids games or entertainment activity tools
Like we’ve highlighted above; this list can be expanded or reduced according to the size of your family as well as your different needs.
Note that if you purchase anything for the sole purpose of using it for the trip, you need to try it out before the actual day of the trip.
Group your Luggage
Cycling to the airport and checking in is not an easy fit if you are not organized. You will need to divide your luggage into cabin and hold luggage.
The lightest and most delicate items will go into the cabin with you while the heavier stuff will go into the hold.
You are better off leaving the bike bags together with the bikes, trailer or kid’s bike seats in the hold area and carrying essentials such as the passports, cameras and other gadgets as part of your hand luggage.
Protect your luggage from damage
While your luggage is protected from damage at the hold area of the plane, the larger part of the responsibility lies on you. Bikes, trailers, and other cycling accessories are expensive items, and protecting them ensures that they give you value for your money.
Thanks to innovation, there are bike bags designed specifically for safe-keeping of bikes during any kind of transit. A good example is the DHB bike bags which have a capacity that is big enough to fit adult and kids’ bikes.
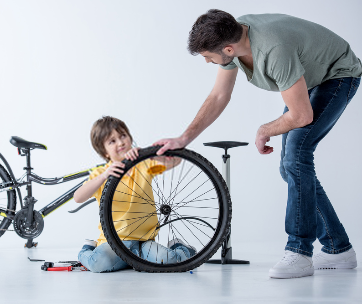
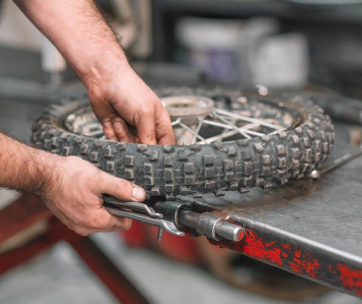
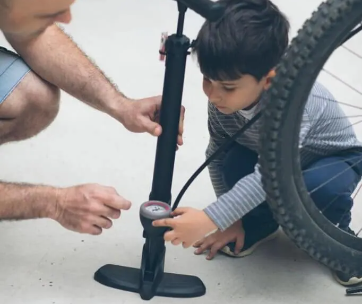
Getting the bikes into the bike bags cannot be done haphazardly as you are trying to save on space and prevent damage to the bikes. To pack the bikes safely you are going to have to disassemble them into more compact packages.
To do so, disengage the wheels and pedals and pack them into the side pockets of the bike bags. After that, loosen the handlebars and turn them so that they are aligned symmetrically to the bike’s frame.
One thing to note here is that if you are not familiar with disentangling your bike then you need to do some practice before you leave for your trip. Furthermore, you need to ensure that most members of your family can disassemble their bikes as fast as possible as you may be pressed for time during your trip.
Before you leave for the trip, be sure to also thoroughly scrutinize every part of the bike to make sure that everything is intact. Loose screws may come undone at any point of the transit and this can prove to be hazardous.
Lastly, if you are planning on taking a cycling trip with your family for the first time and are worried about damage to your bikes, consider travelling with your least expensive bikes for a start. With time, you will be comfortable enough to know how to navigate and protect your bikes form theft and damage.
Know The Airline Rules
As we will keep highlighting throughout this article, airlines differ in terms of their policies and charges. What one airline permits might not necessarily be the same for another.
You need to contact the airline to know what is permissible and what requires extra costs, and what is entirely against airline policy. That way, you won’t run into any surprises while at the airport.
Another thing you want to consider is the height restrictions of the car bike racks. You will find this information at the airport website but if there is no clarity, you are much safer contacting the customer service of the airline.
Plan Your Route
One of the things that you need to do is to plan your arrival timing so as to have a smooth flow of operation. You definitely do not want to land late at night. That’s because it’s going to be very challenging trying to re-assemble your bikes in such a fatigued state; especially so if you are dealing with very young kids.
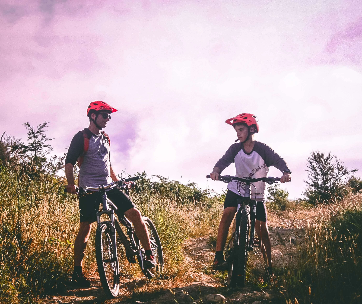
Secondly, you also need to familiarize yourself with the road rules. They differ from state to state and country to country so try not to get caught on the wrong side of the law. During this research stage, you want to be aware of all the road rules and ensure that every cycling child is also aware of them. Things like the order in which you will cycle also need to be kept in mind to avoid confusion and risk of danger.
Another important factor is to conduct thorough research on the trails. For instance, if staying at a hotel, you need to determine the shortest route to your destination as well as whether or not the routes are kid-friendly and tire-friendly.
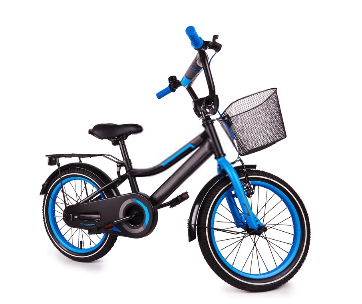
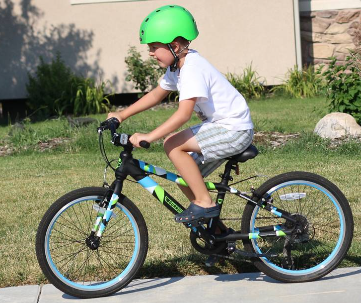
Thing is, if the terrain is rather hilly, it is best not to take up the challenge knowing fully well that your kids’ bikes do not have gears. The average 20-inch bike is definitely not equipped for such adventures.
That said, there are a number of leads that can help you find the best routes. These include:
Trail finder apps
Trail finder apps are one of the best ways to locate cool spots for your activity of interest.
With biking, you can find quite a good number of trails to explore later on with your family. A good example of such apps is All Trails which is an easy-to-use app that highlights trails for biking as well as those for other activities such as hiking.
Google maps and Google Street are also reliable ventures for finding safe cycling routes.
Local bike shops
Bike shop owners will give you free and beneficial information just for the thrill of sharing a common joy in riding. Great thing is that, together with their staff, local bike shop owners are more informed than the average person on the street about the best places to bike.
Local tourism office
A call or physical pop up into these offices is another great way to find the best cycling routes to local areas. However, this is dependent on whether the person you ask has a high level of interest in biking.
2. Book the Bikes onto The Flight
You can book your bikes in advance or as you purchase your tickets depending on your airline’s policy.
3. Rack Up
Having completed all preliminaries, you are ready to head to the airport with your family.
Be sure to pack the bike bags onto the roof rack of your car with the bikes already disassembled and packed into the bike bags.
For easy handling, one or more adults can be dropped off at the drop off point of the airport while the car is being packed. Then you can proceed to check in as usual and get on the plane.
4. Reassemble the Bikes and Get to Your Destination
One of the biggest questions from most beginners is at what point do you re-assemble the bikes after landing.
Well, that depends on what mode of transportation you choose to use to your destination. If you choose to cycle there then you will reassemble your bikes at the airport terminal.
The bikes will be retrieved at the luggage area of the airport. At this point, you best have some kind of distraction for the very ones. Carry a book, or some type of game/ activity to occupy the young ones as you re-assemble the bikes.
Another thing to note if cycling to your destination is that the cycling distance from the airport to the destination should not be lengthy.
Travelling with kids is a hectic affair but doing so when they are jetlagged is an entirely different story. Cycling for long distances when you are tired is very risky and if the weather happens to be entirely different then you definitely don’t want to be riding for long hours in it.
However, if you decide to use other public means such as a local taxi then you can probably re-assemble your bikes at the hotel the very next day. Local Taxi Companies will provide mini-vans through which you can get to your first night’s area of accommodation.
5. Store Your Bikes
Of course, you will not spend every single second of the trip on your favorite two-wheeler. Therefore, you need to factor in the storage area for your bikes, bike bags and other cycling equipment.
Check in with the hotel in advance and find out whether they charge extra for bike storage. Some hotels have dedicated spaces for overnight bike storage that are safe. However, for most hotels, the storage is usually done at your own risk.
As for bike bags, if storing them at the hotel destination is too risky then you also have the option of leaving them at the airport where they are more secure. However, you should also be ready to spend a hefty amount for that kind of storage.
6. Enjoy Your Trip and Get Back Home Safely
During your return flight, the dismantling of the bikes will be done at the airport if you decide to cycle there. Find an area that is close to the check in desk and go about your business. Thereafter, you will board the plane and proceed to load the bikes onto your car rack and head home just as you came in.
Travelling with kids and family bikes on a train
Another common means of transportation to explore with bikes is trains. Thing is, it’s not always easy to get to your cycling destination so if you will have to travel via a train or simply opt to travel by train then there are a few things that you need to keep in mind.
Make Your Reservation
Firstly, you need to make a reservation and book your bike space slot on the train.
Be sure to check in advance that bikes are allowed on board rather than just showing up on the first day of your trip.
The trouble is that not all train companies allow reservations. On one hand, such trains give you more freedom in that you are not limited to a specific date, time and train. On the other hand, there is a high chance that you might not be able to get enough space for your bikes as these slots are set at a first come first served basis. Worst case scenario, you will have to take the next train and hopefully that doesn’t affect your arrival time at your destination.
Ultimately, if you opt to not make a reservation then be sure to arrive at the train station really early. Thereafter, inform the staff that you have bikes so that your slot is secured.
Arrange The Bikes on The Train
There really isn’t much that goes into travelling with bikes on a train other than organization.
While you are still at the boarding platform, you can engage in conversation with other cycling passengers so that you can find the order in which to arrange your bikes.
There are designated bike storage areas on the train which will have bike signals on the door to ease identification. As you arrange the bikes, you want to have the order of the earliest passenger to alight having the easiest access to their bikes.
Offload The Bikes
Bike storage areas aren’t usually that big. So, to save on space, keep all the panniers along with other bags in the luggage area rather than in the bike storage area.
Aside from that, just ensure that at every single point, one or more adults stays with the kids. For instance, while boarding the train, don’t let the kids get on by themselves as you load the bikes. Splitting the adult’s roles between the kids and the bikes will result in the easiest time.
Travelling With Kids and Family Bikes on A Ship or Ferry
Whether you are travelling to another country or simply travelling overnight, a ferry is a very convenient means of travelling with kids and bikes.
However, if the children have a tendency to get sea sick then travelling overnight is the best option to explore as they will be asleep for the most part of the journey. With that in mind, here are the key steps:
1. Booking
Booking in advance is a no brainer. However, since you are travelling with bikes on a ferry, the one thing you want to do is to ring the ferry company yourself rather than choosing to book online.
This will prevent confusion and/ or restrictions on the actual date.
You want to get everything checked. It is imperative to get a decent cabin on the actual travel date so the kids are comfortable and not crumpled up.
Dedicate the whole day to travelling and avoid booking anything else. There might be some unexpected delays. For instance, the ferry might leave later than you expected meaning that you will arrive at your destination later as well. So try not to schedule much else on the travelling day apart from safely arriving.
2. Waiting
After checking in on the travel date you will have to do a lot of waiting as everyone gets positioned in the ferry and other protocols are observed.
Any cyclist trying to load their bikes onto the ferry will definitely have to wait in the car waiting area. And while all the foot passengers usually have a waiting area where they are sheltered from the elements, you need to be prepared for the weather as passengers with bikes don’t usually have the same kind of accommodation.
With so much time to kill, you also want to ensure that all the family members are aware of the wait.
3. Securing the bikes
At some point, you will be directed onto the deck area to secure your bikes. Here’s where you need to observe care in order to prevent damage to your bikes. You need to have some time of lash or bungee cord with which you can secure your bikes further.
With the bikes being secured to the side of the car deck, the staff might not be careful in their operations as the owners of the bikes would be. Therefore, some type of rack will also be handy to prevent movement and damage to the bikes.
Per usual, get the panniers off the bikes and store them alongside your other luggage. Also ensure that all your paper work is at arm’s length because you are going to get asked for them at one point. Once everything is in order, the ship/ ferry will set off.
4. Wait some more
There’s a lot of waiting involved in ferry travelling for cyclists and their families. Once you arrive at your destination, you want to wait for all the motorists to get off the car deck.
There is a high likelihood that most of them won’t conform to the requirement that they turn off their engines. And the last thing you want is to be trapped in there with all the fumes.
To be safe, wait until the motorists are off the ship then go for your bikes.
5. Clean the bikes
Once you are off the ferry, find a place to give the bikes a clean.
There are a lot of salt water effects that some people usually ignore. For instance, you might have to not only wash off the salt water but also lube the chains. After that, you are pretty much ready to proceed with your trip.
Travelling With Kids and Family Bikes on A Bus
Some trips are not meant to be done using the favorite family car, which makes public transport through bus the only viable option. If you plan to bring your family bikes with you on a trip that entails travelling by bus, here are some tips you could use to get started and successfully accomplish your plans.
1. Check for storage space
The first thing you want to do is to check if there is enough storage space on the bike racks usually located at the front of the bus. If the rack is fully occupied, you will have to wait for the next bus.
2. Load the bikes
Next, squeeze or pull the handle of the rack to open it up for loading. Once the rack is pulled towards you then you should load the bikes starting with the back (the slot that’s closest to the bus) going outwards.
To load the bikes, simply place the wheels onto the trays and secure the bikes with the spring-loaded bars. Load the bikes facing opposite direction so as to properly fit on the rack. Additionally, ensure that the bar that secures the front wheel onto the rack is held firmly in place.
Load off any personal items off the bike and take them with you into the bus.
3. Signal the driver
Once you arrive at your destination, let the driver know that you want to offload your bikes. Proceed to remove your bikes then signal the driver once you are done.
Final Remarks
As you can see, it is possible to travel with family and bikes without breaking a sweat. You just need to be thorough with planning. The good news is that it gets better with each new practice.
Choose what suits your family best and go for it. Once you are done with your trip, do remember to stop by and thank us, will you?


Comments